Next主题进阶使用学习。
1.设置头像边框为圆形和旋转特效
自己设置:


系统自带:next已经内置了可以调节的功能,只需要将开关打开即可


2.本地搜索
根目录下使用git命令:npm install hexo-generator-searchdb --save


3.博文置顶
使用文章的top属性,设置值越大,权重越大 top :100
4.统计文章字数
根目录下安装:npm i --save hexo-wordcount


Hexo 配置文件

Next配置文件

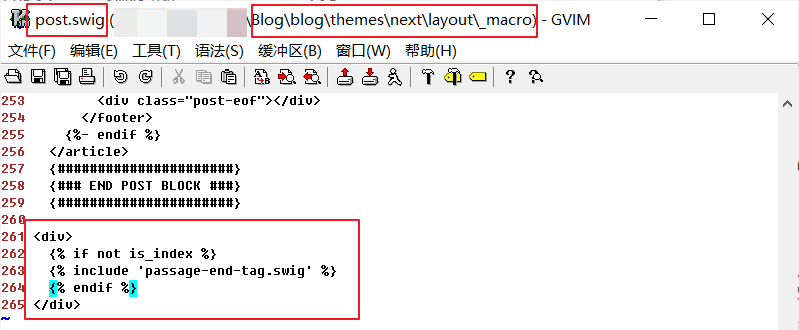
文章结尾添加 “本文结束” 标记
新增文件,添加内容

将新文件关联到post文件中
在主题配置文件中开启

修改访问路径
Hexo默认访问路径是以日期为路径,可以在显示时将日期隐藏

文章加密访问

设置个人社交链接

Hexo博客live2d看板娘
1. 安装hexo-helper-live2d插件
在博客目录下打开git bash客户端,使用命令安装:npm install --save hexo-helper-live2d
2. 下载需要的live2d模型
npm install --save live2d-widget-model-tororo
3. 将live2d添加到站点配置
要在站点配置文件
_config.yml中设置(注意区分站点配置和主题配置)
#Live2D动画
live2d:
  enable: true
  scriptFrom: local
  pluginRootPath: live2dw/
  pluginJsPath: lib/
  pluginModelPath: assets/
  tagMode: false
  debug: false
  model:
    use: live2d-widget-model-koharu
  display:
    position: right #显示位置
    width: 150
    height: 300
  mobile:
    show: true    #移动端是否显示
4. 最终效果展示

:see_no_evil:
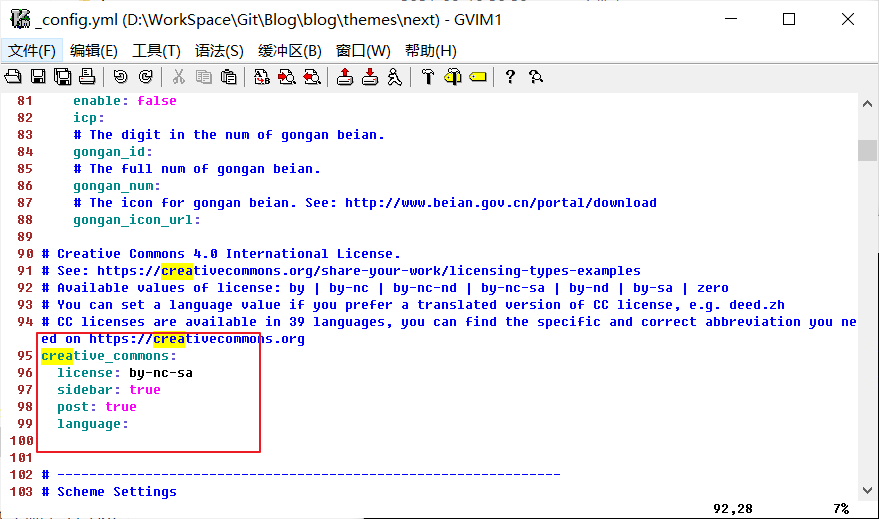
文章底部版权信息

要配合开启:
设置访问量
???
左侧标题栏设置
博客底部设置
显示时间、隐藏Hexo

首页隐藏指定文章
https://www.jianshu.com/p/79fe9fb9dfa0
参考
https://www.jianshu.com/p/efbeddc5eb19
https://blog.csdn.net/zgcr654321/article/details/86751765